Today I finally got through a few mods I have been putting off for my Dreamcast. First is the DCDigital (formerly known as the DCHDMI), the DreamPSU, Noctua Fan Mod and the GDEmu Shell.
Before I start though I’d like to note that the Dreamcast I am modding here dates way back to high school for me. I already owned a PS2, and so I traded a friend some games in exchange for this Dreamcast, with one controller and a VMU. He wasn’t really using it, so I thought I might be interested. It mostly collected dust over the years, and then last year I went back to my Dad’s house and picked up a few things, and noticed this gem sitting in the basement. It has been with me ever since.
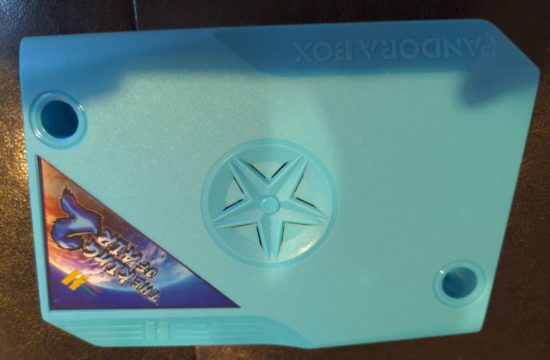
I got a GDEmu for it last year, and I think that works just great. No problems whatsoever with it, and didn’t see a reason to go with the MODE (which I already have for Saturn). An opportunity came up to get a DC HDMI though via a sale, and so I thought it might be fun to install it and see what happens.
Up until now, I have been using the Pound HDMI Cable, which is basically doing some VGA to HDMI conversion, but not very well apparently. The image is very blurry, and on top of that, it seems cut off at the top and right side. So, it affects gameplay negatively.
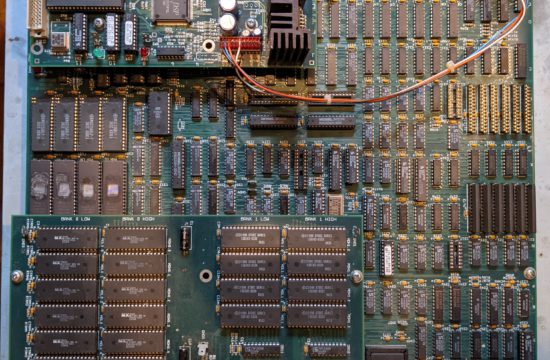
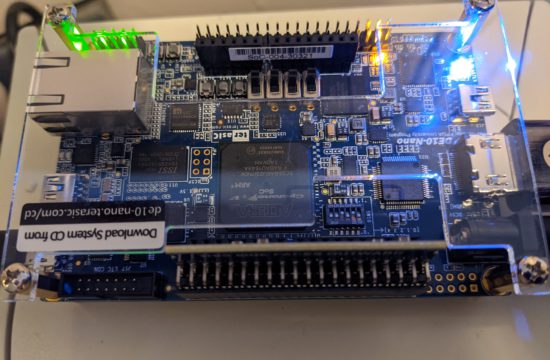
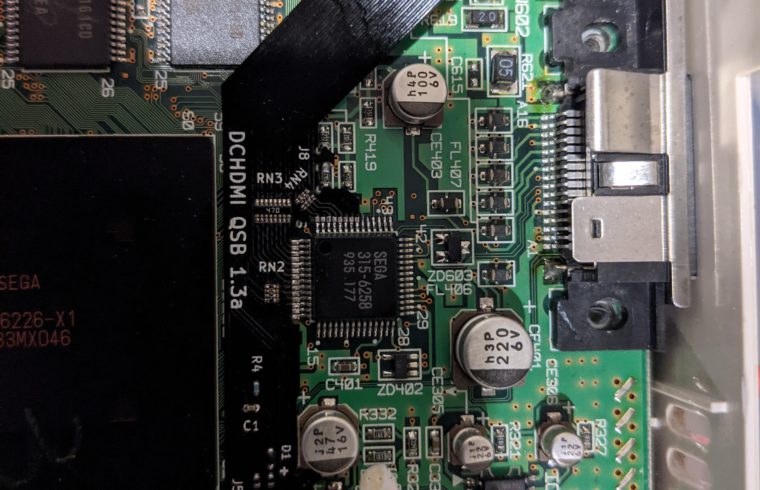
The DC Digital, is a custom mod you install that taps into the video and audio chips of the Dreamcast directly and then processes that output and scales it. So, if ever there was as close to a perfect output for the Dreamcast, this would be it.
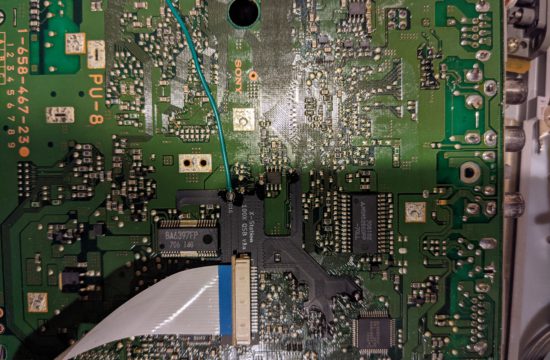
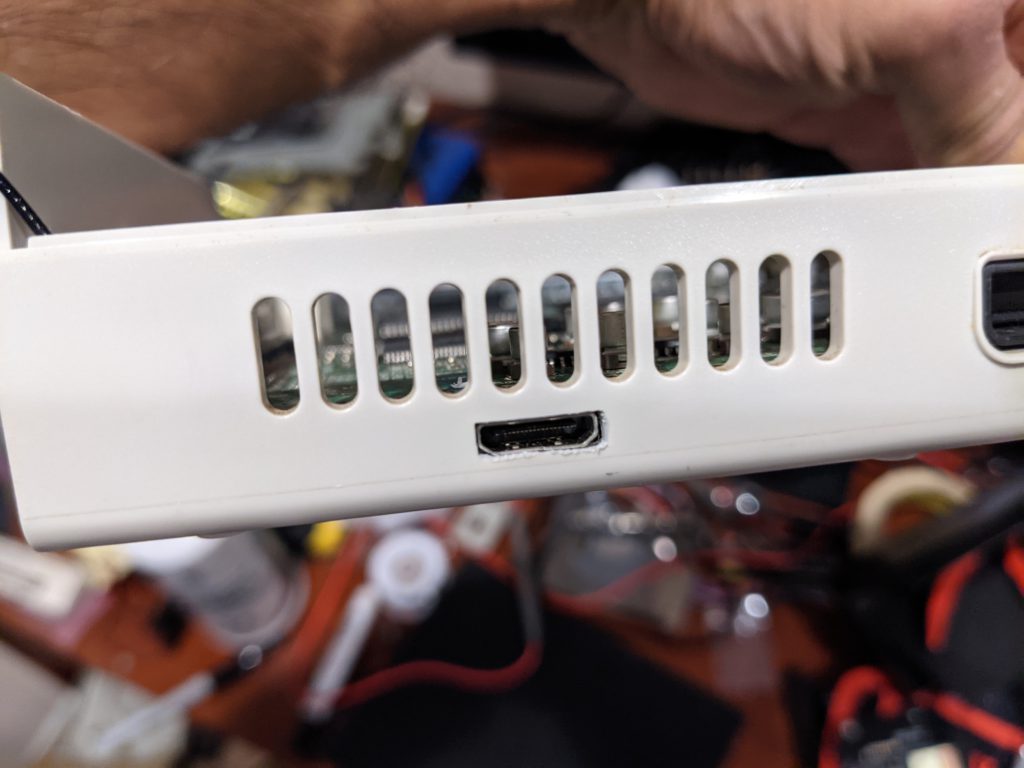
Overall, the install was very slow and relaxing. They first have you make some modifications to your case to cut out some bits that interfere with the mod. Then, they have you cut a hole and mount the pcb for the hdmi out. After that, it’s into the qsb installation, which is somewhat annoying, but not as bad as the xStation. Finally, some testing and configuration. Overall, it took a couple hours.
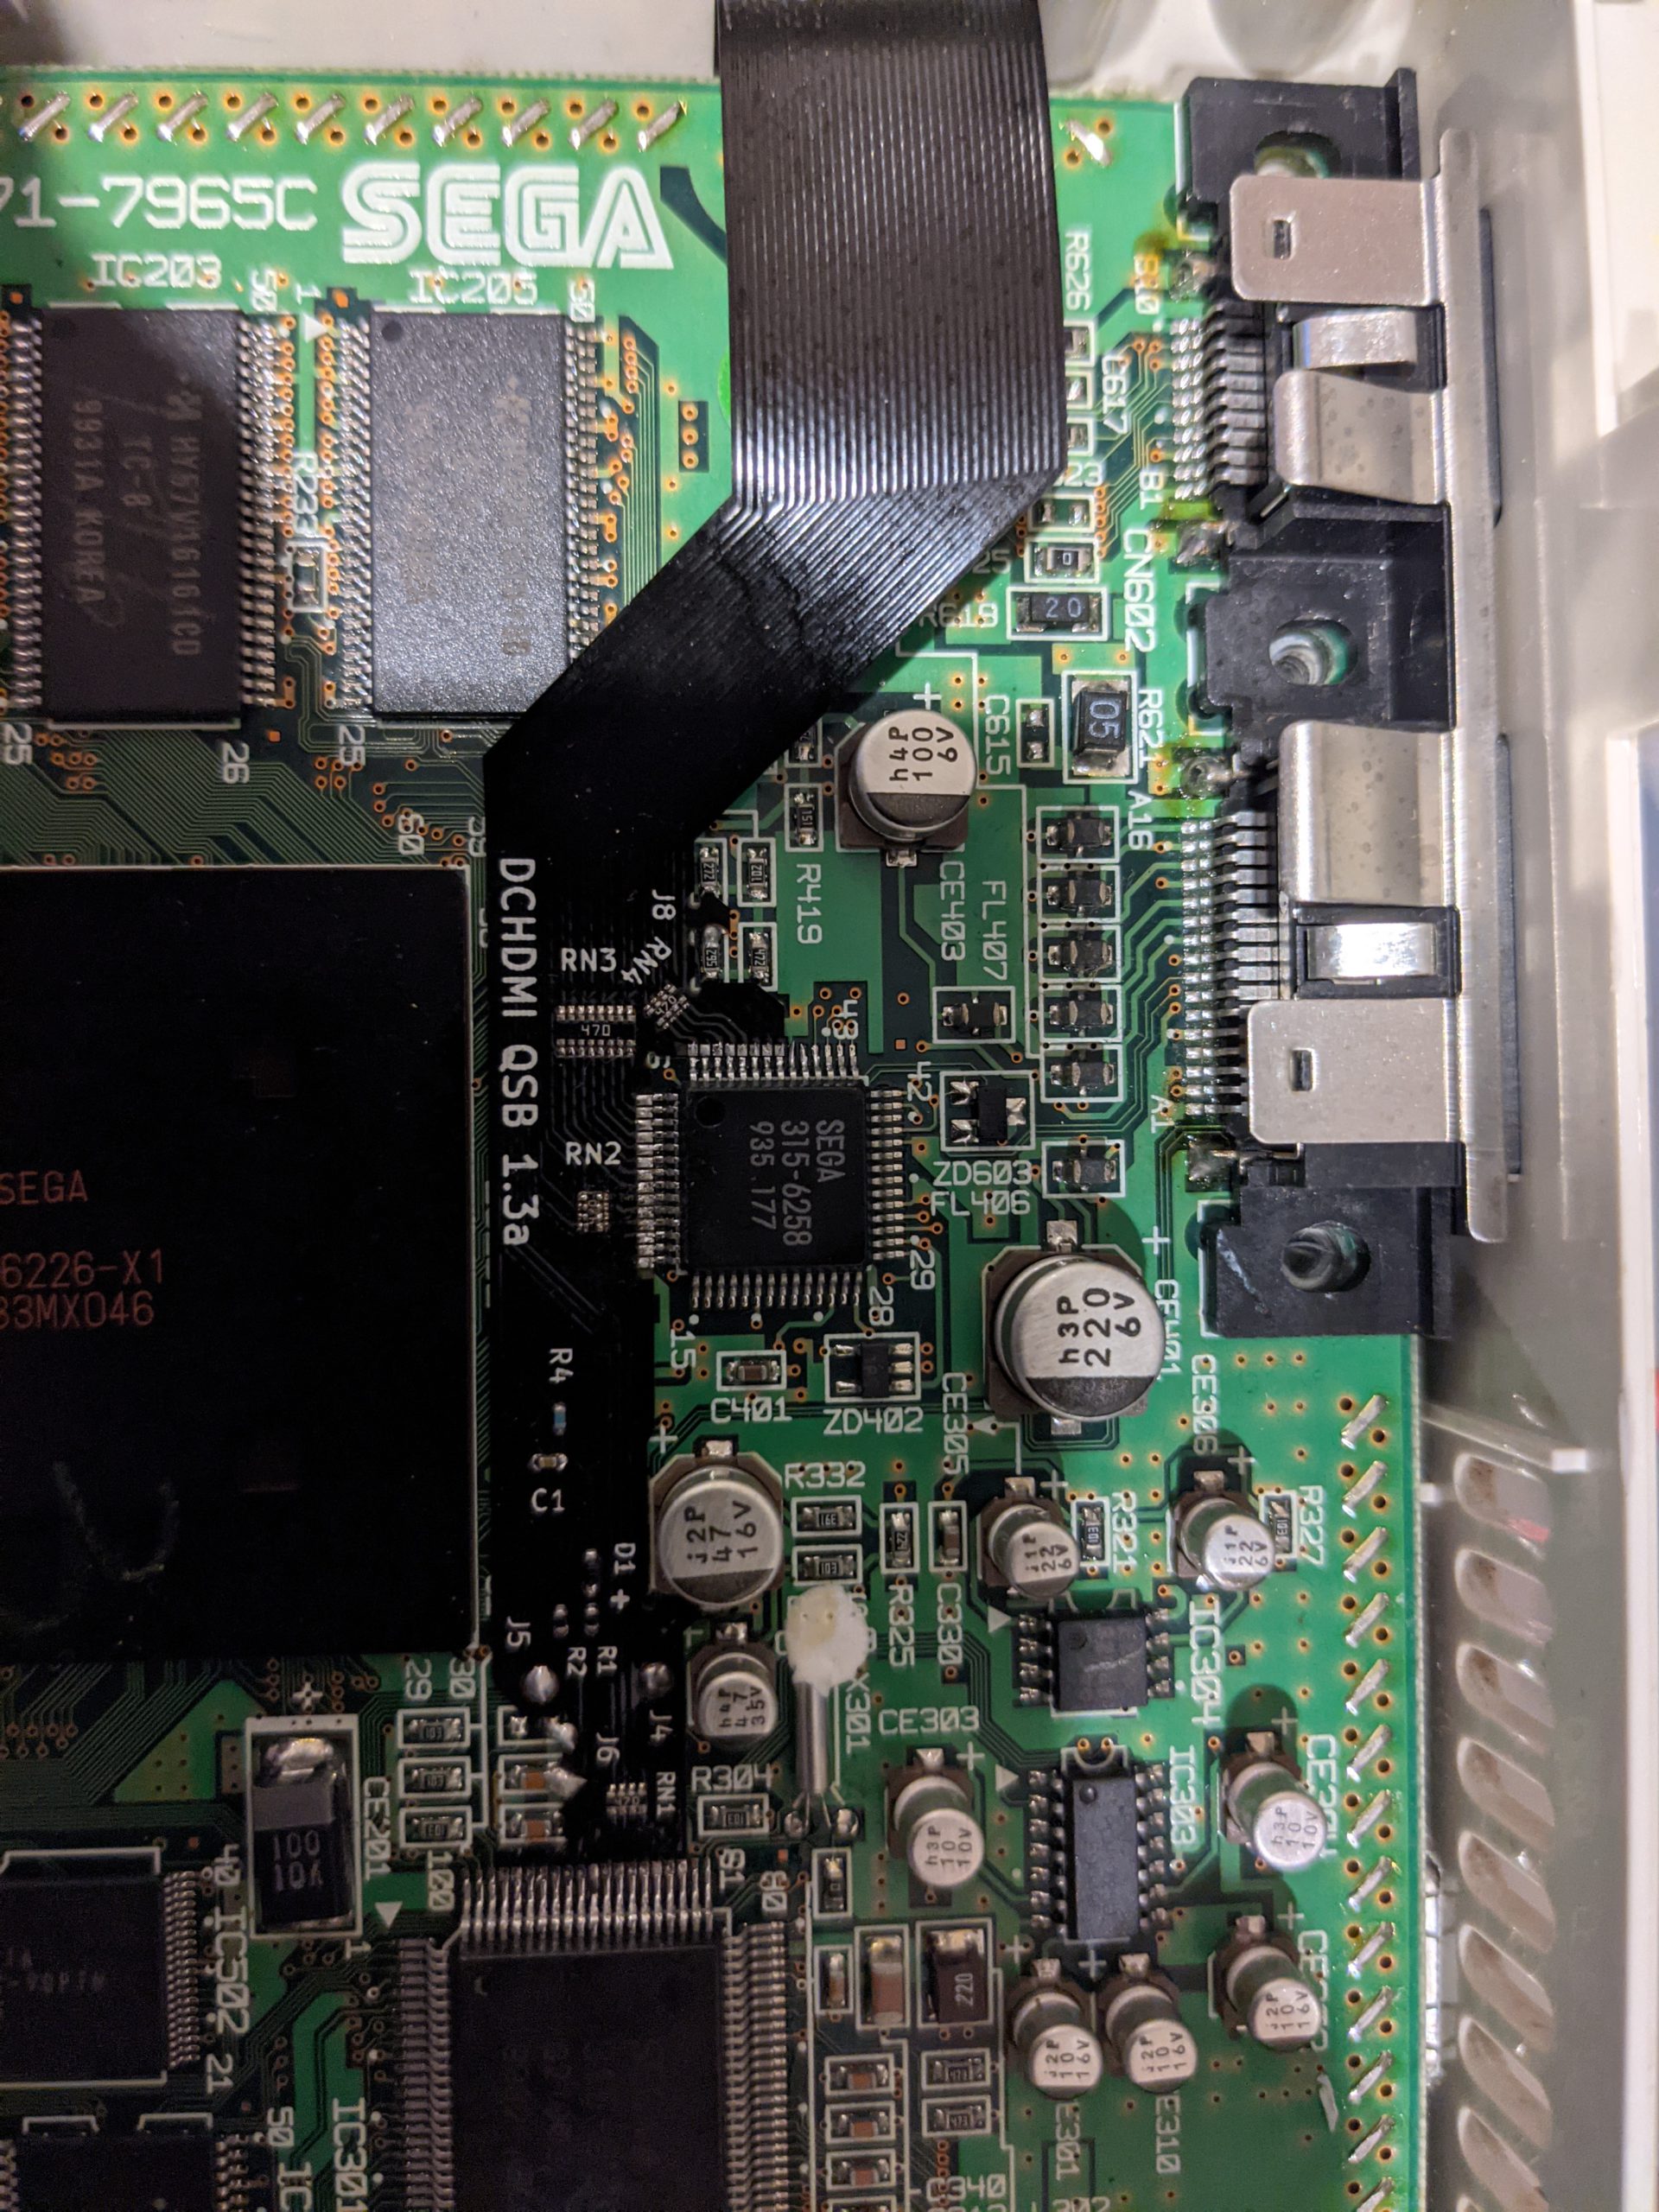
One thing I really like about this mod is the OSD diagnostics. Toward the end of the install when I was testing, I had gone into the test/info menu and found a couple of my points were not connecting. So, I was able to tear down the DC, and isolate the problem exactly according to their test point diagnostics. I had nicked some resistors on the QSB and caused them to bridge (they are tiny!!!). Other than that the QSB wasn’t at all difficult to install, just have to take your time.
The biggest flaw I think in this product has to be the OSD. The overlay clearly happens independent of the Dreamcast CPU itself, and so there’s this weird combination of buttons you press to get into the menu in the first place, and as you are navigating the menu, you are also controlling what is going on in the Dreamcast behind it. It doesn’t take over the past or pause the CPU. It makes it annoying trying to get settings don’t when there are things pressed behind the menu through the same control.
The output of the video for this product, however, is indeed flawless. I don’t think I have ever seen a retro console look so good in my life with all the advanced upscalers I have had. You have to just see it to believe it. It is the most crisp and clearest picture ever. I didn’t even think the Dreamcast could look this good or any retro console for that matter. Thumbs way up high from me on this one.
On top of the DC Digital, I also installed a few other mods as I’ve mentioned.
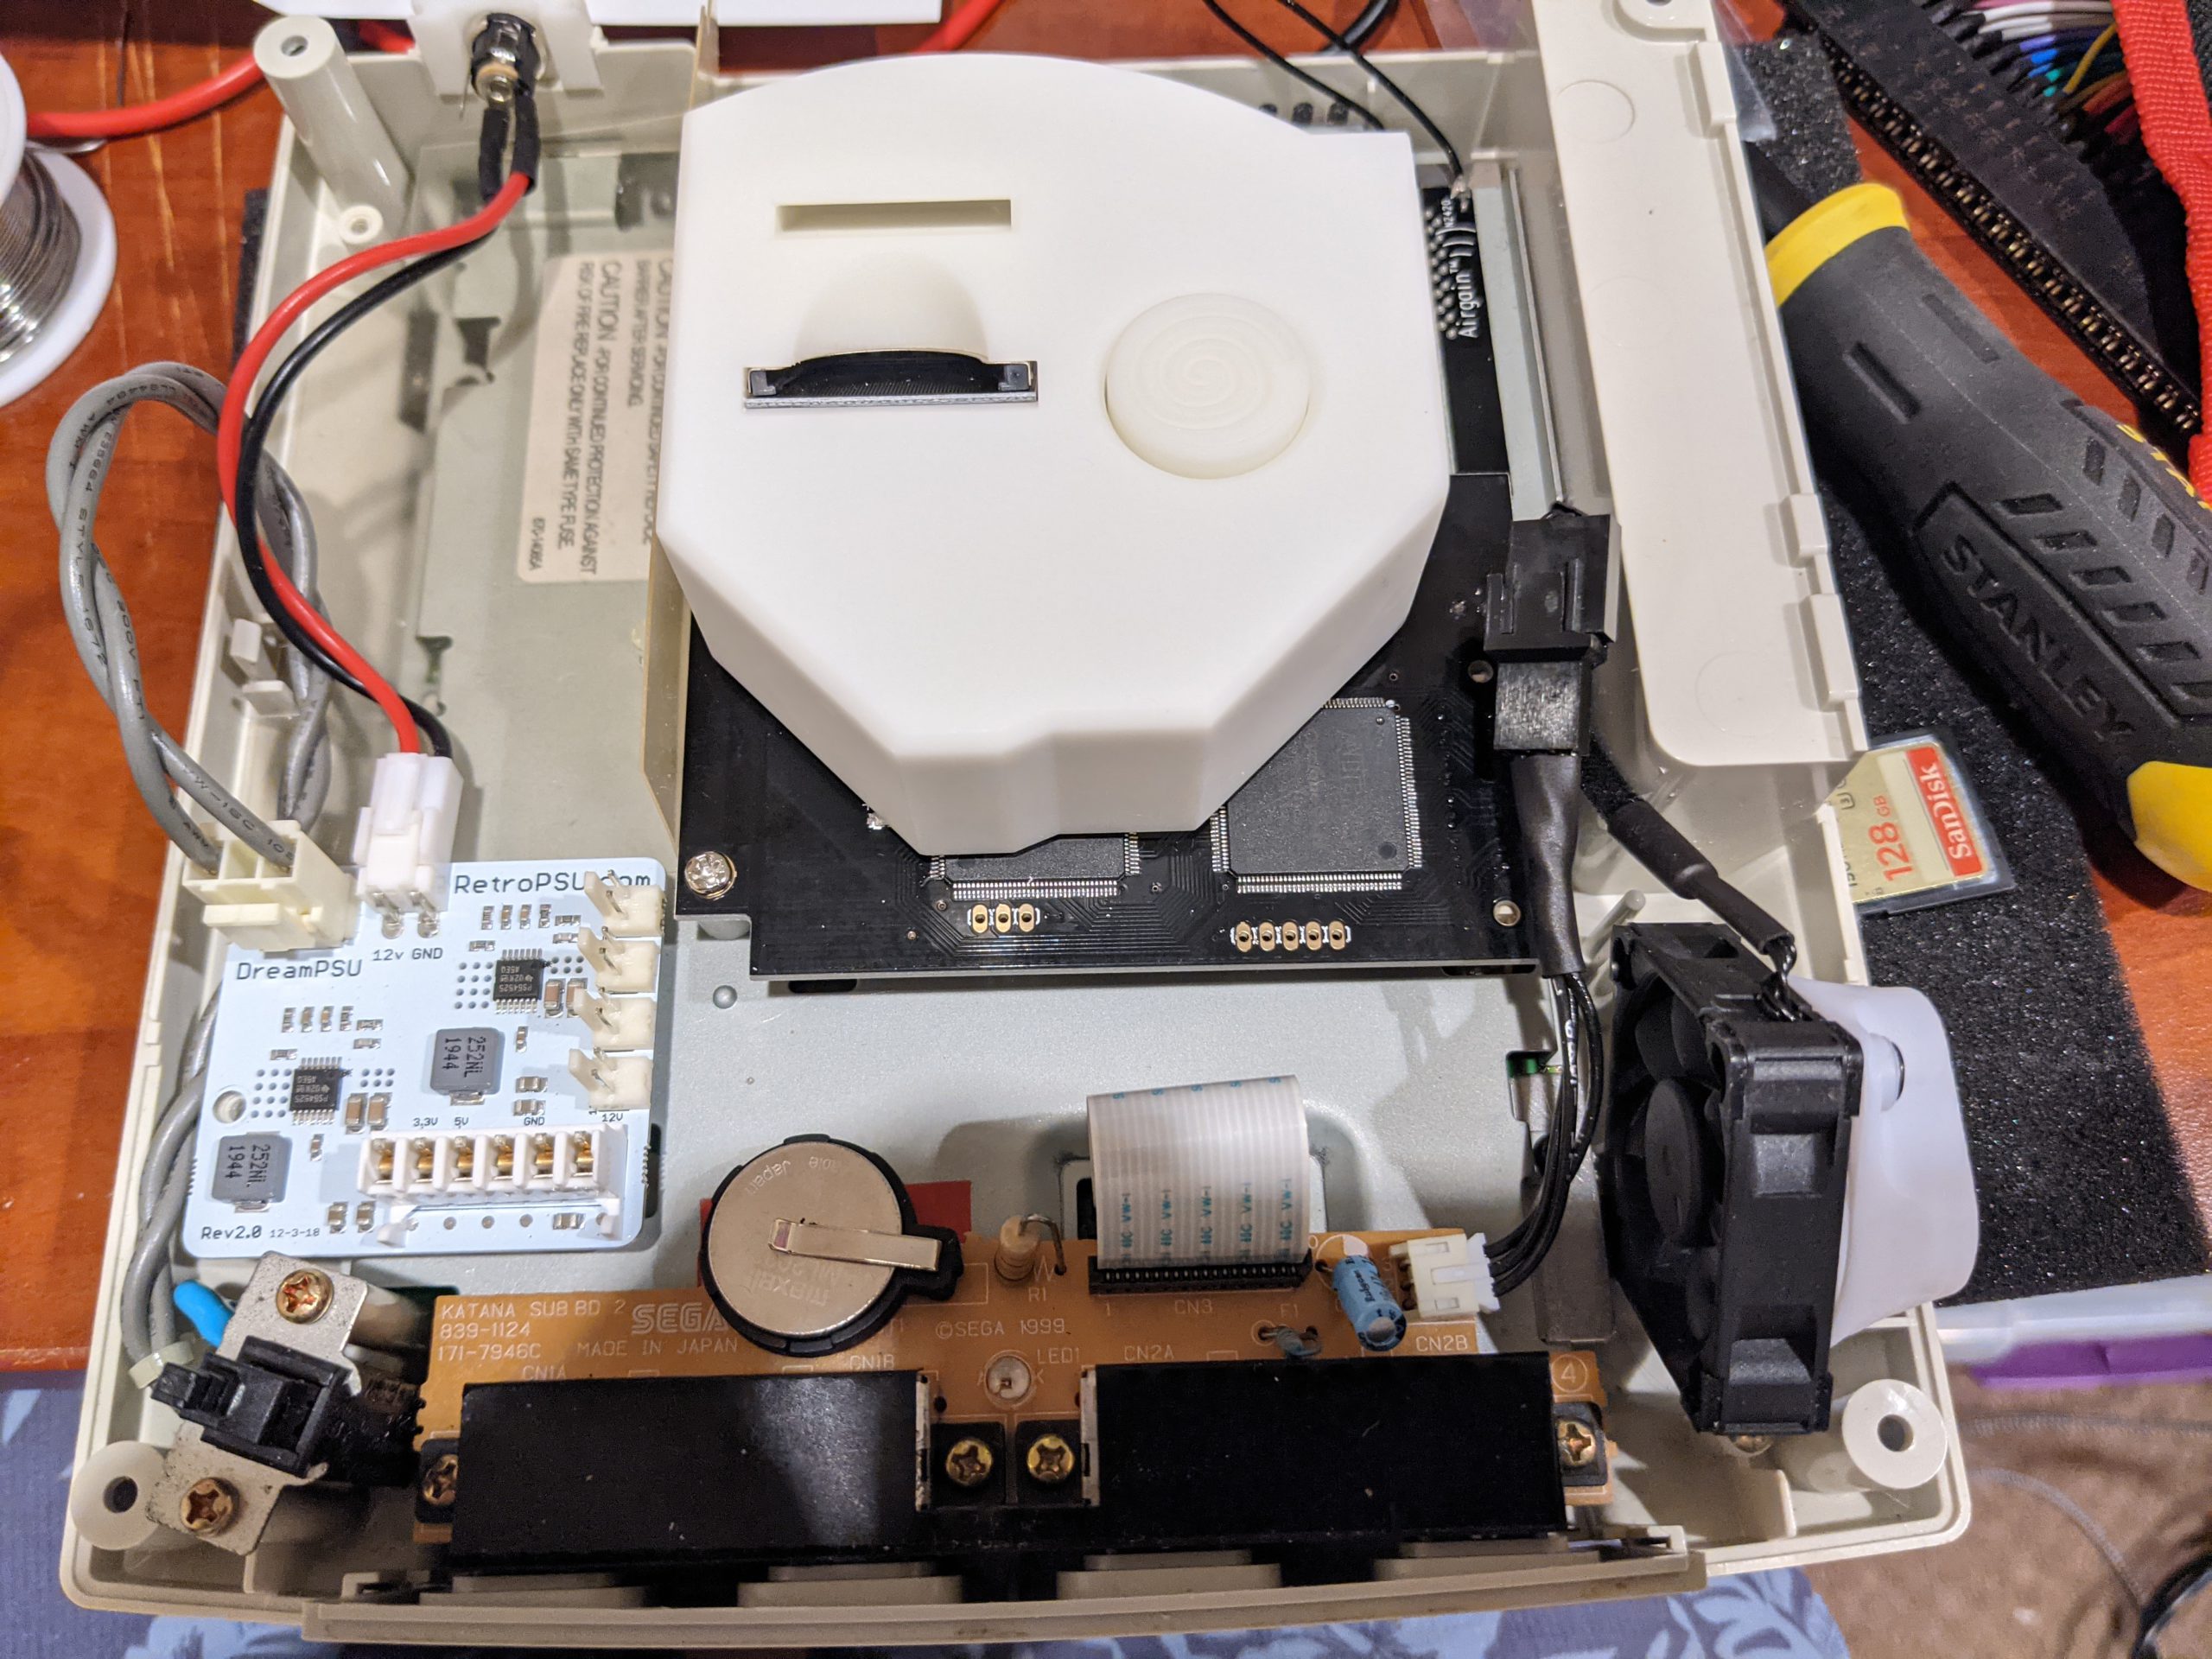
You can see the DreamPSU, Noctua Fan Mod, and the GDEmu Tray. In particular, I think the GDEmu Tray and the fan mod are the most cleverly designed mods that use 3d printed parts.
So overall, thumbs way up high for the DC Digital. You will just have to get one to see how good this picture looks! Don’t kid yourself about that stupid pound HDMI cable, it sucks!
pram0d